REVIEW · RIO DE JANEIRO
Rio de Janeiro: Hang Gliding Adventure
Book on GetYourGuide →Operated by Rio Hang Gliding · Bookable on GetYourGuide
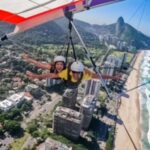
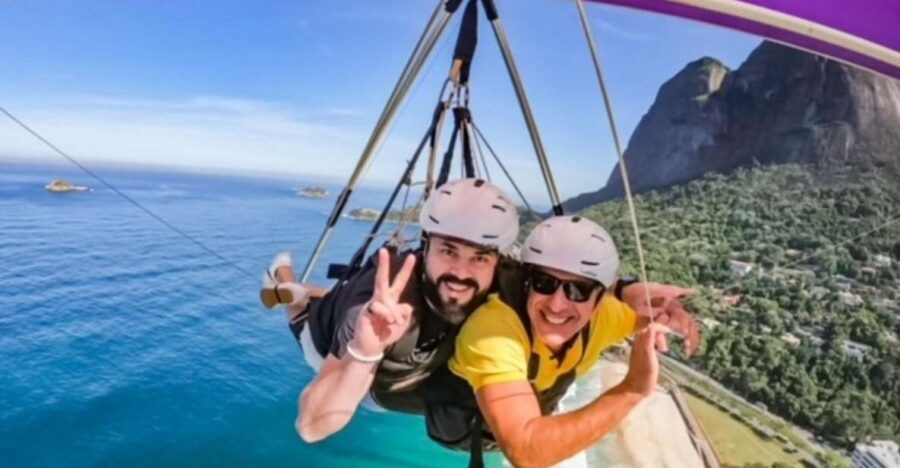
Hang gliding in Rio puts you on the air route above Sugar Loaf, Corcovado, Copacabana, Ipanema, Lagoa, and even across Guanabara Bay toward Niterói. You start from the Pedra Bonita takeoff platform (525 m / 1,700 ft), run a short distance, and then glide into that oddly calm, bird-over-the-treetops feeling. The whole thing ends with a landing on a sandy stretch in São Conrado, plus refreshments as you watch others touch down.
I really like how instruction-focused this is. Before takeoff, tandem pilots talk you through the steps and what to expect, and you’ll hear real confidence from pilots I’ve seen credited like Konrad, Klaus, Marcelo, Claudio, and Sigale. I also love that you’re not just doing a one-off memory: the flight is recorded, and you can add extra camera angles like 360 footage if you want a more immersive replay.
One consideration: this can run longer than you think. Weather and wind can change timing, and there’s often a waiting stretch while pilots reset on the beach and get the next person ready.
In This Review
- Key things to know before you go
- Pedra Bonita to São Conrado beach: the flight arc you’ll remember
- The pre-flight briefing: why the calm starts before you run
- What you see over Rio: landmarks, coastline, and birds overhead
- Takeoff and landing: the two moments to plan for
- Time on the ground: why 2–3 hours can turn into a half-day
- Video footage and add-ons: what you’re really paying for
- Price and the extra fees you should plan for
- Safety fit: who should go, who should skip it
- Transportation and meeting point: make your life easy
- Motion sickness can happen: know the signal and respond calmly
- Should you book Rio Hang Gliding?
- FAQ
- How long is the hang gliding adventure in Rio?
- Where do you take off and where do you land?
- Does weather affect the flight?
- What’s included in the price?
- What extra fees should I expect?
- What are the age and clothing rules?
- Is it okay if I’m over 90 kg or have medical concerns?
Key things to know before you go
- Pedra Bonita starts at 525 m for big views right away, not a slow “maybe we’ll rise” start
- Tandem pilots handle the flight so you’re mostly focused on following instructions during takeoff
- You’ll see Rio’s grid of landmarks from above, including Sugar Loaf and Corcovado, plus the bay toward Niterói
- Expect wait time tied to wind, gear resets, and group launches
- Video is part of the value, with optional add-ons for more angles like 360 footage
- Weight matters for safety and may switch you to paragliding if conditions demand it
Pedra Bonita to São Conrado beach: the flight arc you’ll remember
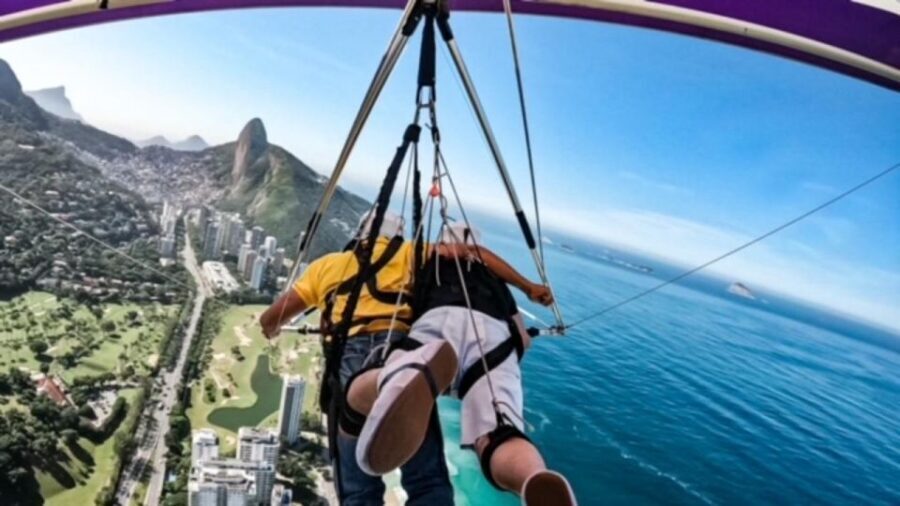
Your day centers on one clean idea: launch from Pedra Bonita and glide over Rio’s famous sights, then land back down at sea level. The takeoff is from a platform at 525 m (1,700 ft), and the experience is built around a short run: once you’re positioned, you step over the edge and get airborne after about 7 steps.
What surprises people is how the flight doesn’t feel like a sudden free-fall. You’re running, then suddenly you’re in steady air, moving with the wind instead of fighting gravity. Once you’re up, the pilot’s job is to steer and manage the glider while you focus on staying stable and doing what you’re told.
Then comes the landing routine. You touch down on a sandy beach in São Conrado, and you’re not just left there either. There are refreshments and you can watch other flights come in, which helps your nervous energy drain fast.
You can also read our reviews of more tours and experiences in Rio De Janeiro.



The pre-flight briefing: why the calm starts before you run
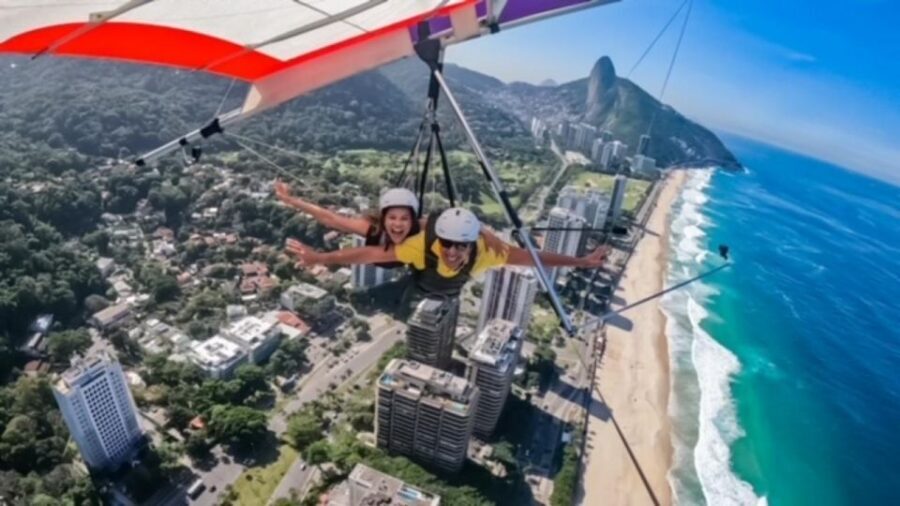
The most valuable part of this activity is what happens before you ever step off the platform. You start with a briefing from tandem pilots who are specifically there for safety and instruction, and they cover takeoff and other key moments so you know what your body will do next.
In practice, that matters because your mind usually spikes at two points: the first moment you’re harnessed up, and the moment you’re about to run. When your pilot is clear and steady, those spikes drop. Many guides are described as efficient and calm—names like Konrad, Klaus, Maurice, and Claudio show up repeatedly in the feedback—so you’re typically not dealing with vague instructions.
If you’re nervous, here’s what helps: treat the briefing as a checklist. Then, when you get up to the launch area, you’ll have fewer unknowns swimming around your head. That turns the whole experience from fear-of-the-unknown into fear-of-a known step, which you can handle.
What you see over Rio: landmarks, coastline, and birds overhead
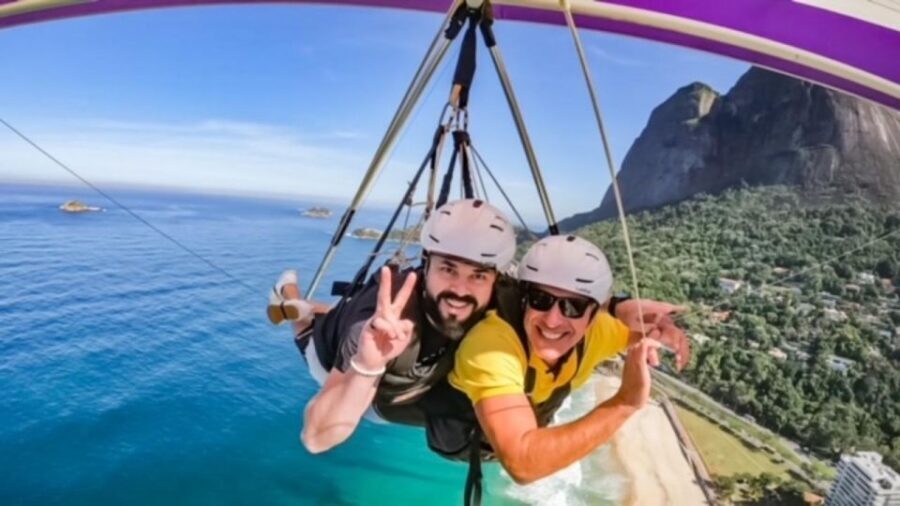
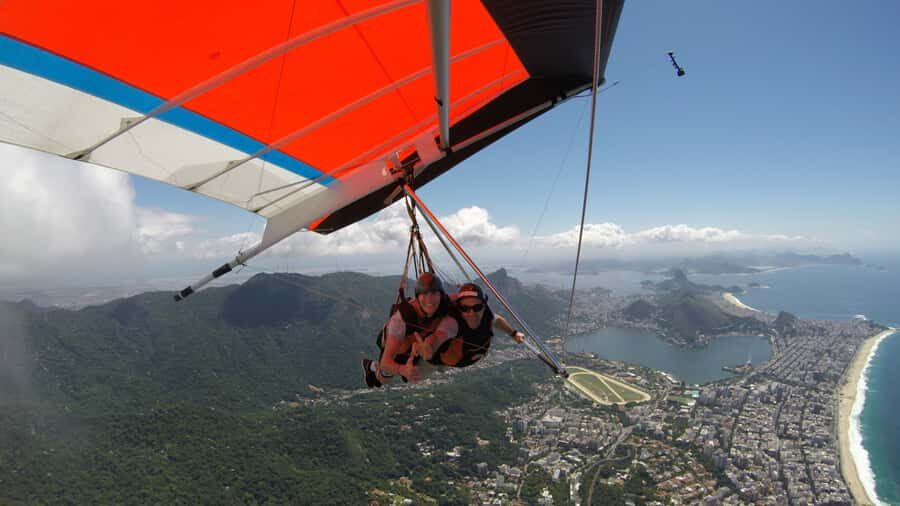
From the air, Rio doesn’t look like postcards. It looks like geography: coastlines, roads, neighborhoods, and water all layered together. The view package you’re set up to experience includes Sugar Loaf Mountain, Corcovado, Copacabana, Ipanema, Lagoa, and Guanabara Bay with Niterói on the far side.
A big part of the charm here is also the sensory mix. The experience highlights the sound of tropical birds flying over the treetops in the forest below, which adds a natural soundtrack to the glide. That’s a real contrast to the stereotype of “adrenaline only.” A lot of the time, you’ll feel focused and present instead of constantly panicking.
Also, don’t expect perfect visibility every day. Fog can delay launches, and clouds can block certain skyline landmarks. That’s not a failure on their part; it’s just how weather works in the hills near the coast.
Takeoff and landing: the two moments to plan for
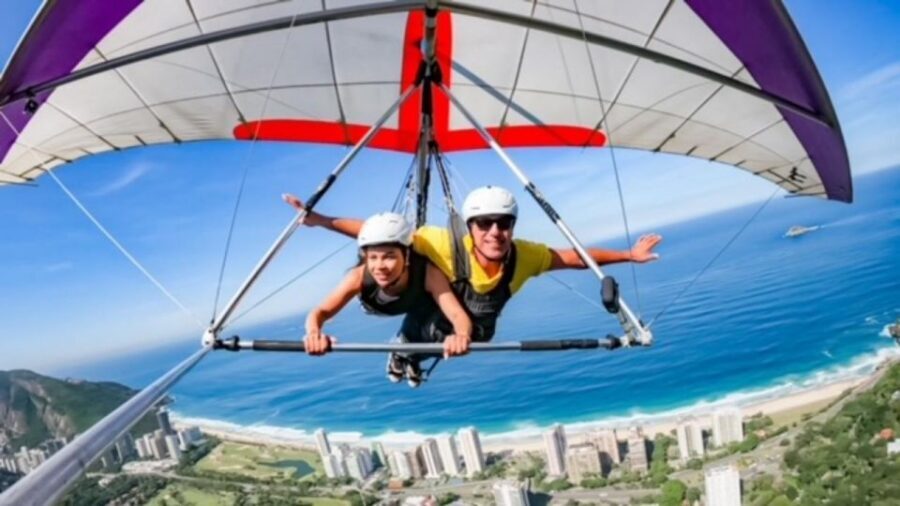
Takeoff is simple but intense, and you should mentally prepare for it. Once you’re at the platform, you’ll do the short run and then transition into flight in the same sequence your pilot explains. People often describe it as not feeling like you’re jumping or falling, more like you’re starting motion and then the air does the rest.
Landing is usually where the body relaxes. You land on sand and then you’re free to move around again. You’ll also get a chance to reset your brain and watch others land, which helps if you’re doing this as a group and you notice different launch times.
One more practical note: launch and landing can be staggered when you’re in a small group. Even if your overall slot is listed as 2–3 hours, you may not launch at the exact same time as everyone in your group because pilots need to manage gear and timing safely.
Time on the ground: why 2–3 hours can turn into a half-day
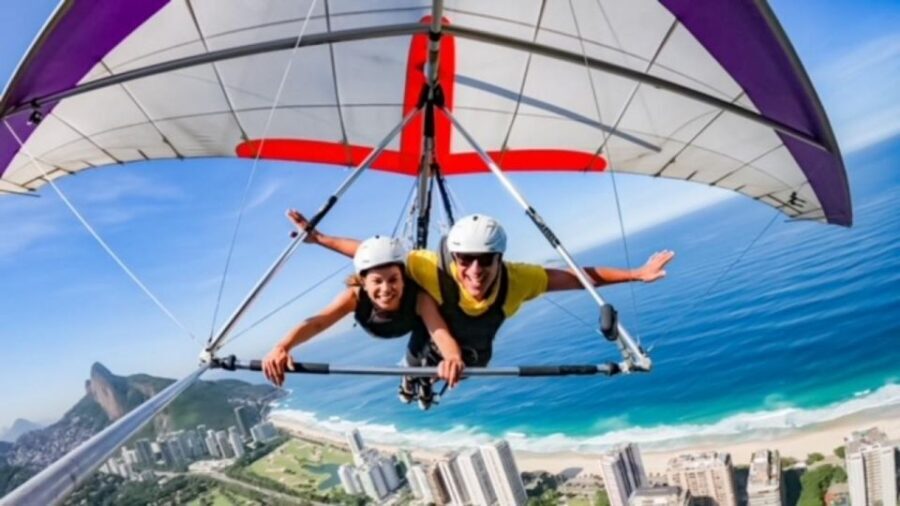
The listed duration is 2–3 hours, but your actual day can stretch due to real-world conditions. Fog, wind shifts, and the practical rhythm of running tandem flights all affect when you finally launch.
There’s also a “gear reset” reality. After a pilot finishes with one person, the setup needs time to be packed on the beach, then moved back up for the next launch. That’s why waiting happens even when you’re ready. Some feedback calls out waiting that can run beyond expectations, so bring patience and plan your schedule loosely.
If you’re going early in the day, you’ll probably feel less stuck. One suggestion from a visitor was to do the tour as soon as you can, like around 8am, to reduce downtime from weather changes later on.



Video footage and add-ons: what you’re really paying for
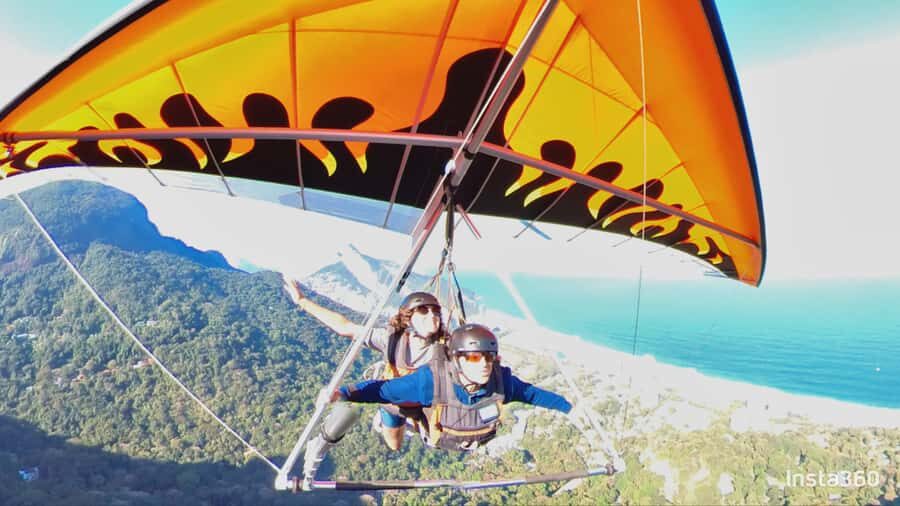
The standard experience includes video recording with cameras attached to the glider, so you’ll get flight footage even without extra purchases. That’s a meaningful value piece: it turns the experience into something you can rewatch, share, and actually keep—not just a memory you’ll try to describe later.
Then there are optional upgrades for more camera angles. Feedback points out that extra camera packs can cost more at the end—examples include added GoPro angles and 360 footage. One person said the 360 camera is worth it, and another highlighted that buying additional angles can add cost but improves how immersive the replay feels.
So here’s the way I’d think about it: if you’re the type who records everything on a phone, you’ll probably want the extra angles. If you just want proof you did it and a clean clip for social media, the included footage may be enough.
Price and the extra fees you should plan for
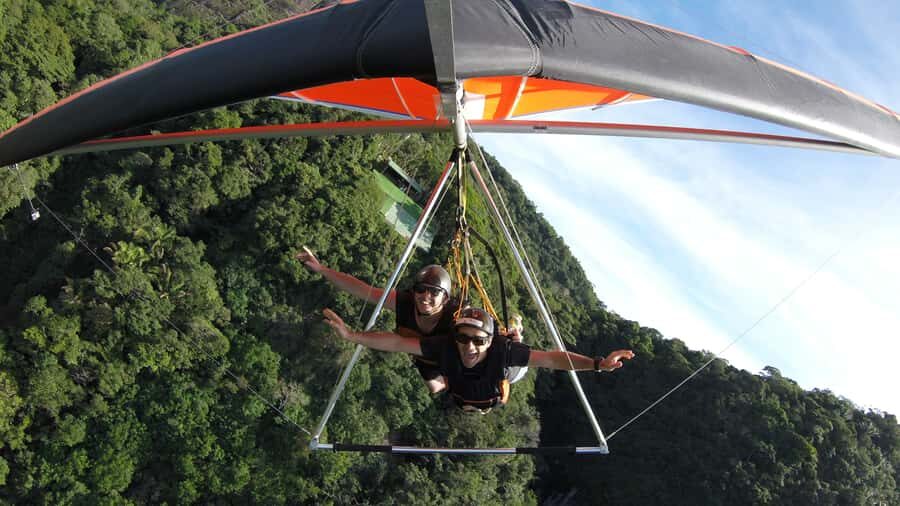
The price is listed at $229 per person, and that gets you the core experience: tandem hang gliding, pre-flight training, harnesses, helmets, and the safety equipment you need, plus optional hotel pickup if you choose it. In other words, you’re not paying just for “time in the air.” You’re paying for a whole controlled system: gear, instruction, and pilot skill.
Now the part people sometimes miss: there can be additional costs connected to the local hang gliding club. A launch usage fee of 120 Brazilian Reais cash is mentioned, and card payments can include an extra 10% fee. In plain terms, bring cash if you can, and expect that your final out-of-pocket may be higher than the headline price.
Add-ons for optional camera angles can also push the total up. Some visitors cite extra costs for things like 360 footage or additional angles, and they’re usually purchased at the end of the experience.
If you’re budgeting, I suggest planning for:
- the advertised tour price
- the local launch fee
- optional video upgrades if you want more angles
Safety fit: who should go, who should skip it
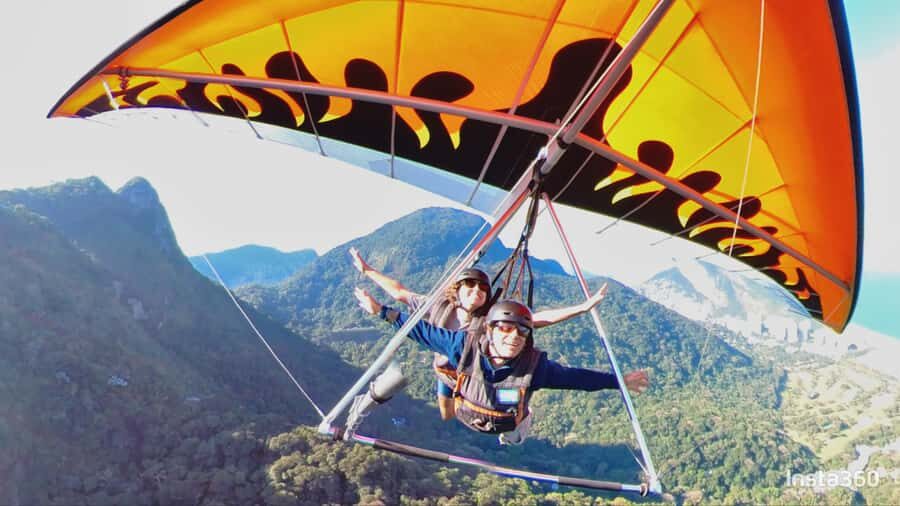
This is an aeronautical activity, and your body matters. Weight is explicitly a deciding factor. People over 90 kg (about 200 lb) can be directed to paragliding if safety concerns come up based on atmospheric conditions. It’s not a personal judgment; it’s how they keep the system safe.
There are also clear “not suitable” categories: pregnant women and people with pre-existing medical conditions should not participate. If you’re unsure about your own situation, you’ll need to take that seriously and ask before booking.
Footwear rules are part of the real safety picture too. You’re not allowed to wear sandals or flip flops, and bare feet aren’t allowed. Wear shoes that you can run in confidently on uneven launch-area ground.
One other small but practical tip: insect repellent. The launch pad area is surrounded by jungle, and at least one visitor strongly recommended bringing bug spray, especially if you’re prone to bites.
Transportation and meeting point: make your life easy
Your meeting point can vary depending on the option you book, but hotel pickup is optional. If pickup is chosen, you usually wait outside in front of the building, and pickup typically happens at your selected time.
This matters because timing pressure is real on launch days. If you show up late, you can end up stuck in the waiting rhythm longer than necessary. If you don’t have pickup, use maps early and build in buffer time.
One feedback note worth taking seriously: communication can vary day to day. It’s smart to confirm details ahead of time and stay responsive on the day, especially when fog or wind changes your schedule.
Motion sickness can happen: know the signal and respond calmly
A small number of people mention feeling motion sickness mid-flight. One person described getting sick in the air and praised the instructor for handling it calmly and professionally.
If you’re sensitive to motion, plan for it. Eat lightly beforehand (since you’ll be in harness and moving through wind), and tell your pilot immediately if you feel off. A good tandem instructor will manage the pace and keep you safe while you ride it out.
Should you book Rio Hang Gliding?
You should book if you want one of Rio’s most “I can’t believe this is real” experiences, with tandem pilots, a structured briefing, and direct views of major landmarks like Sugar Loaf and Corcovado. It’s also a strong pick if you like the idea of keeping footage, because the flight is recorded and you can upgrade to more angles like 360 if that’s your style.
You might skip or reconsider if you:
- are pregnant or have a pre-existing medical condition
- can’t do the short run and want a less physical start
- are extremely schedule-sensitive, since weather and wind can delay timing
- don’t want the possibility of extra costs for camera angles and a local launch usage fee
If you fit the safe-because-it’s-a-system profile, this is an easy yes. Plan for some waiting, bring proper shoes and bug repellent, and treat the briefing like your confidence checklist.
FAQ
How long is the hang gliding adventure in Rio?
The activity is scheduled for 2–3 hours, but wind and weather can affect launch timing and create delays.
Where do you take off and where do you land?
You take off from the Pedra Bonita takeoff platform at 525 meters (1,700 ft) and land on a sandy beach in São Conrado.
Does weather affect the flight?
Yes. The activity is weather dependent, influenced by wind and weather, so delays or cancellations can happen.
What’s included in the price?
Included are the tandem hang gliding flight with an instructor, pre-flight training, harnesses, helmets, and necessary safety equipment. Hotel pickup is optional if selected.
What extra fees should I expect?
A local hang gliding club launch usage fee of 120 Brazilian Reais cash may be required. Cards can involve a 10% fee. Optional video camera add-ons may also cost extra.
What are the age and clothing rules?
The minimum age is 14, and minors must be accompanied by a legal guardian with photo ID. You cannot wear sandals or flip flops, and bare feet are not allowed.
Is it okay if I’m over 90 kg or have medical concerns?
People over 90 kg (about 200 lb) can be directed to paragliding if safety concerns require it due to conditions. Pregnant women and people with pre-existing medical conditions are not suitable for this activity.