REVIEW · RIO DE JANEIRO
Rio de Janeiro: Pedra da Gávea 7-Hour Hike
Book on GetYourGuide →Operated by S2 Rio - Tours Rio de Janeiro · Bookable on GetYourGuide
One mountain, Rio’s whole skyline. Pedra da Gávea is famous for a reason: you gain serious elevation fast, and the summit views can make the whole city feel within reach. I also love the way the guides like Eduardo (Edu) and Lucas support you through the harder bits, often with extra attention to photos and video so you can bring the day home.
Expect a challenging day in Tijuca National Park, starting near sea level and rising to about 840 meters. You’ll walk nature trails for roughly the climb portion, then tackle short sections that turn into hands-on scrambling and basic climbing using specialist safety gear.
The main downside is simple: this is a difficult hike, and it’s not for everyone. If heights make you tense, or you don’t have grippy hiking shoes and the stamina for steep, technical terrain, you may find it stressful—especially in hot weather.
In This Review
- Key things I’d circle before you go
- Pedra da Gávea: what makes this hike feel different
- Getting to Itanhangá: the meeting point and how to plan your morning
- From sea level up into Tijuca National Park: the walking phase
- Carrasqueira section: hands-on scrambling and provided safety gear
- Summit time: waiting for the clouds to lift and soaking in Rio
- The return down: why the descent is part of the challenge
- Guides like Eduardo and Lucas: small-group support that changes the day
- Equipment and what’s (and isn’t) provided
- What to pack: your “don’t get stuck” checklist
- Difficulty level: who should (and shouldn’t) choose this
- Weather and cancellation: how to think about the risk
- Price ($56): what you’re really paying for
- Should you book this Pedra da Gávea hike?
- FAQ
- How long is the hike itself compared with the total tour time?
- Is prior rock climbing experience required?
- What altitude does the hike reach?
- What climbing section should I expect?
- What languages are available for the guide?
- Is private transportation included?
- Where is the meeting point?
- What should I bring?
- Are open-toed shoes allowed?
- What happens if the weather is bad?
Key things I’d circle before you go
- Certified eco-adventure guides lead the hike and handle the risky sections with specialist gear
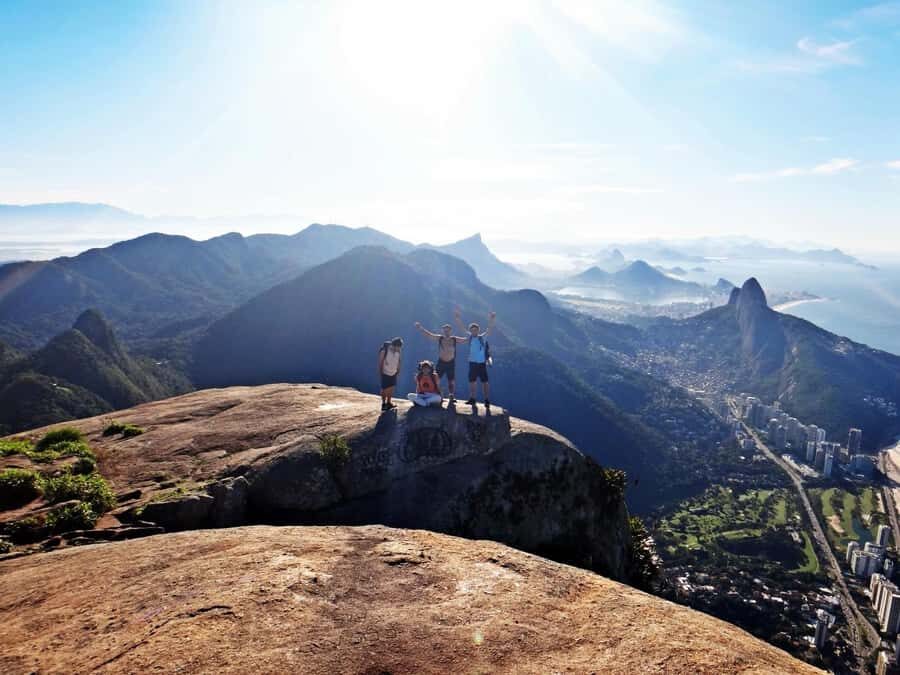
- Summit views cover the south and west areas of Rio
- Carrasqueira section includes basic rock climbing around 30 meters with provided safety equipment
- Small group (max 6) means more attention on foot placement and pacing
- No private transportation included, so you’ll need to handle getting to Itanhangá
Pedra da Gávea: what makes this hike feel different
Pedra da Gávea is one of Rio’s most well-known climbs, and the “big deal” is built into the route. You’re not doing a gentle forest stroll. You’re hiking up through Tijuca National Park while the terrain gradually gets steeper and more technical, until you reach a summit where the views feel wide and dramatic.
Part of why this works as an experience is the mix of effort and variety. You’ll spend time walking on nature trails, then transition into short climbing moves where you’re using your hands and following secure guidance. That shift turns it from sightseeing into an adventure day with real moments of focus.
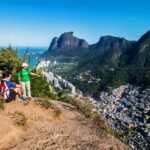
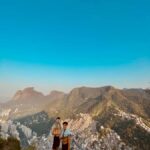
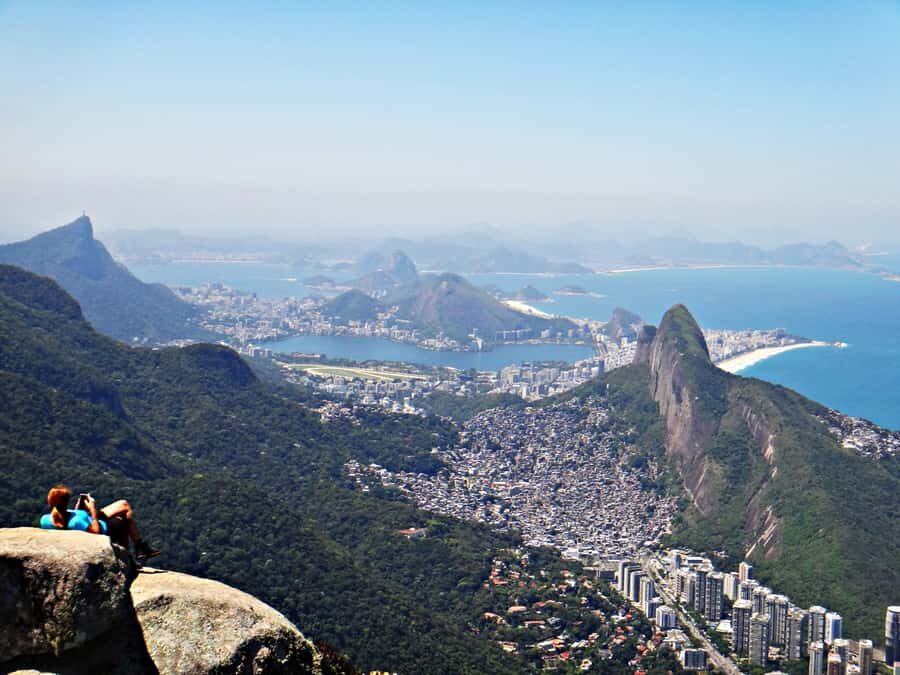
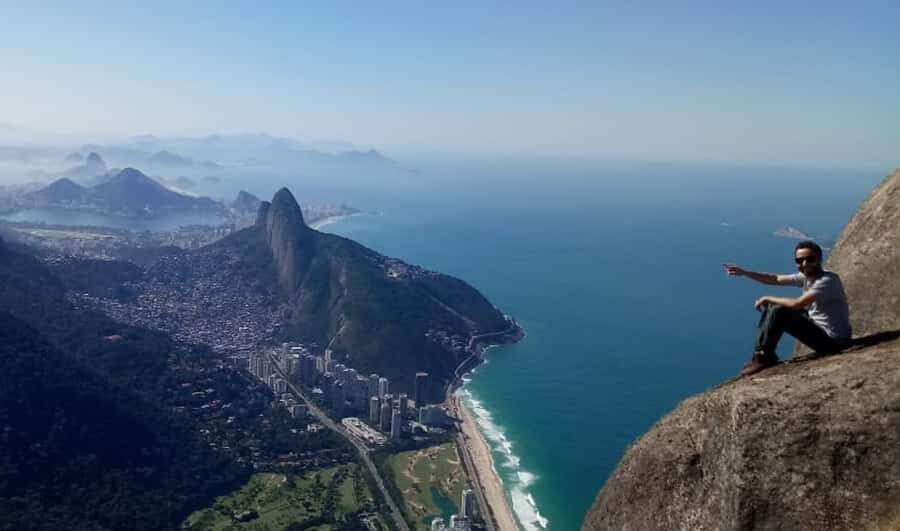
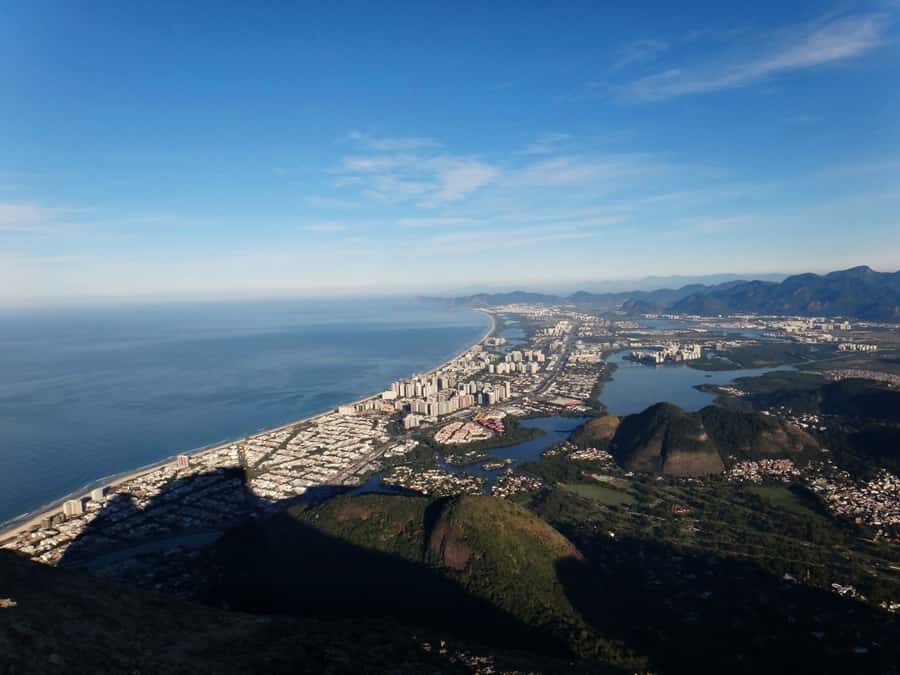
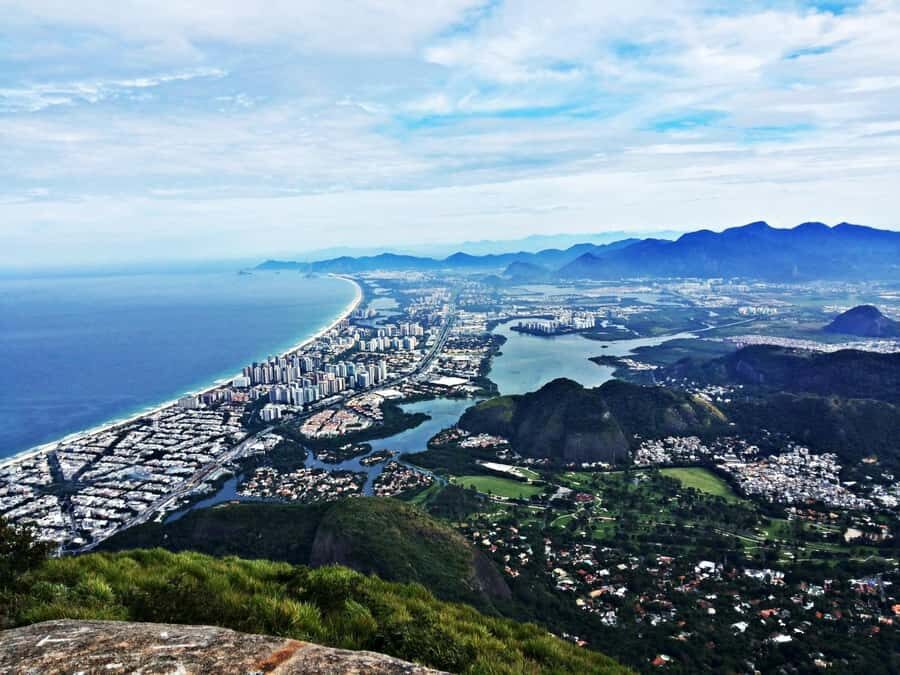
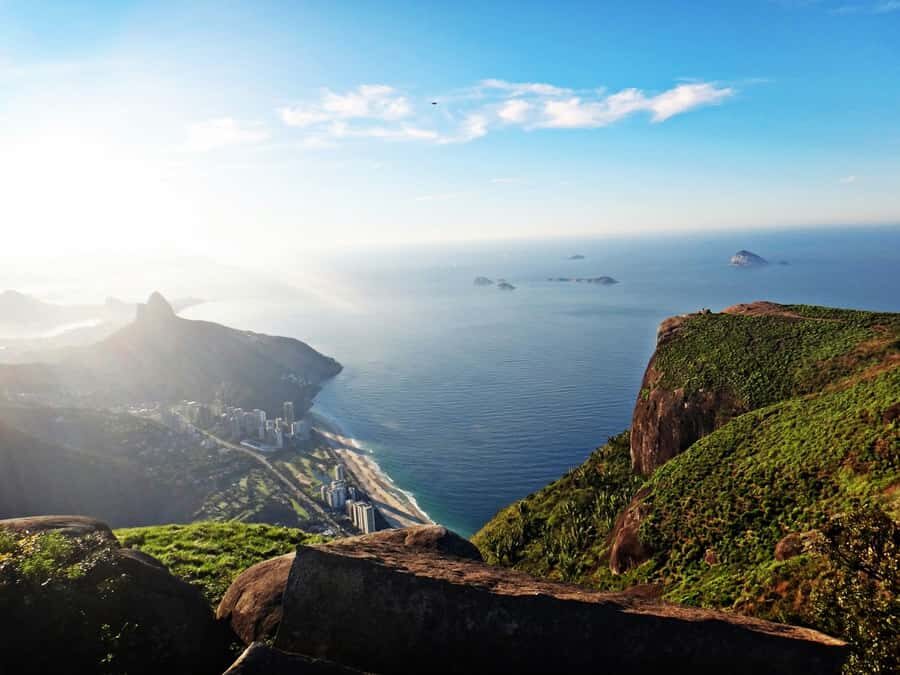
And yes, the views are the payoff. From the top, you get perspectives over Rio’s south and west. That’s the kind of vantage that makes you stop moving, turn slowly, and take it in like you’re studying a map you can finally see in 3D.
You can also read our reviews of more hiking tours in Rio De Janeiro
Getting to Itanhangá: the meeting point and how to plan your morning
You meet at Estrada Sorimã, 932 – Itanhangá, Rio de Janeiro. This matters because there’s no private transportation included, so you’ll want to plan your ride there carefully. A taxi, rideshare, or pre-arranged transport is the way to handle it.
The tour duration is listed as 8 hours, but the hike itself is described as about 3 hours. In real life, that typically means a lot of the day is travel time to the trailhead area, safety briefing, equipment checks, breaks, and moving as a group through the technical sections.
One practical note from experience with this kind of mountain day: your start time can feel a little fluid. You might reach the meeting point early and still wait before the trail begins. If you’re trying to squeeze this between other plans, build in extra padding.
From sea level up into Tijuca National Park: the walking phase
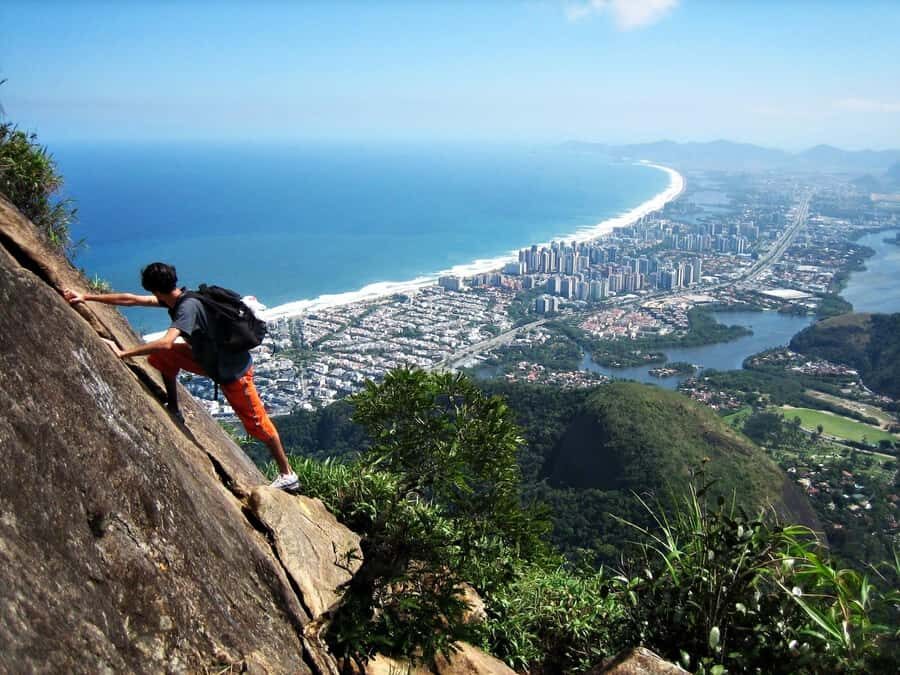
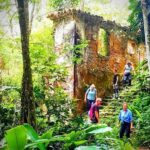
The hike starts at around sea level and climbs to about 840 meters. During the early and middle parts, you follow challenging nature trails inside Tijuca National Park. This is where the day becomes real: you’ll work uphill steadily, and your pace will depend on your fitness and how much you want to stop for photos.
A big comfort factor here is shade. Many Rio hiking routes can bake you alive in the sun, but this hike is described as mostly shaded in sections by hikers who did it in warmer months. Still, you should treat this as a sun-and-sweat day.
This walking phase is also your chance to sync with the group. Since it’s limited to 6 participants, you’ll likely be moving together through tighter trail segments and over uneven ground. If you find yourself rushing, slow down early—saving energy pays off later when the climbing and scrambling take longer than you expect.
Carrasqueira section: hands-on scrambling and provided safety gear
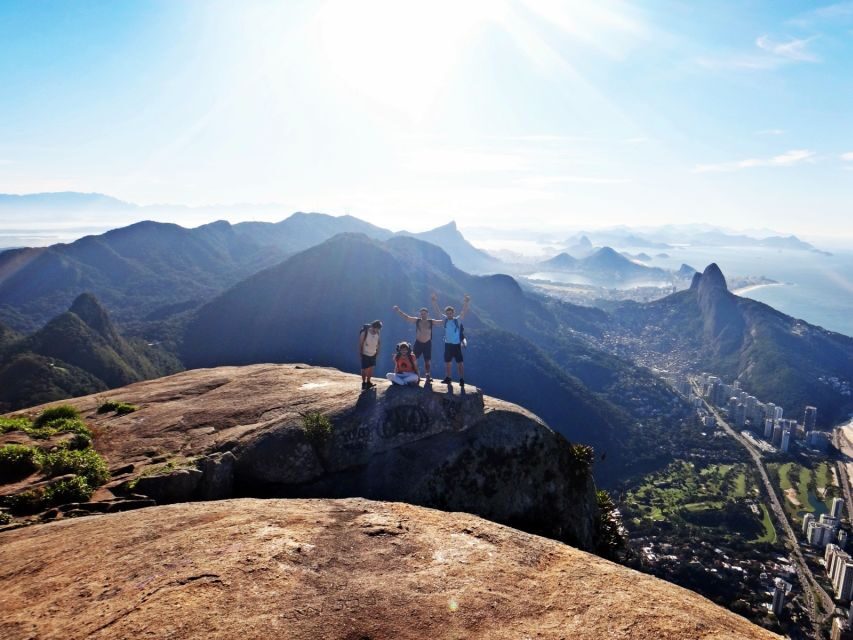
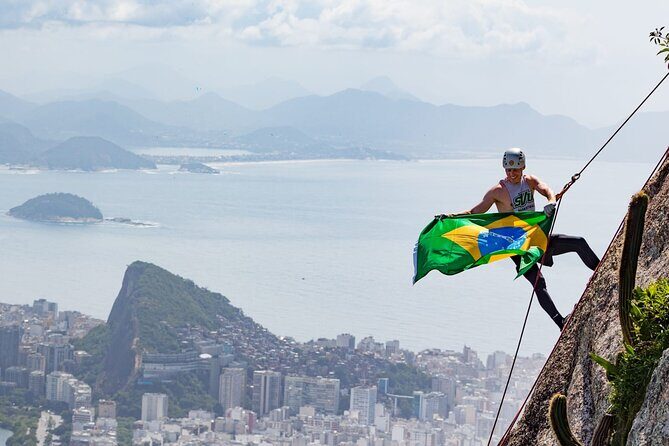
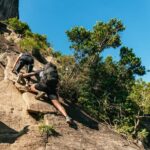
This is the part you’ll remember. The route includes the Carrasqueira area, where the hike turns into short climbing of roughly 30 meters. The good news: you’re not sent out on your own. You get safety equipment from your instructor and you’re coached through how to cross the exposed and technical moments.
What this feels like on the ground:
- You’ll use hands as well as feet, not just trekking poles and rhythm.
- You’ll need solid balance and attention. One sloppy step can become a slide, even when you have guidance.
- The climbing segments can take longer than the walking, especially in a small group where guides help people one by one.
Safety-wise, the tour is built around the idea that certified guides manage the risky sections. In practice, that often means ropes and helmets for certain segments, plus careful instruction on where to place hands and feet. You should expect the guides to prioritize stability and correct technique over speed.
If you’re not afraid of heights, this might feel like controlled fun. If you are afraid of heights, you can still do it safely—but you’ll want to be mentally ready. The technical nature of this segment is the main consideration for comfort.
Summit time: waiting for the clouds to lift and soaking in Rio
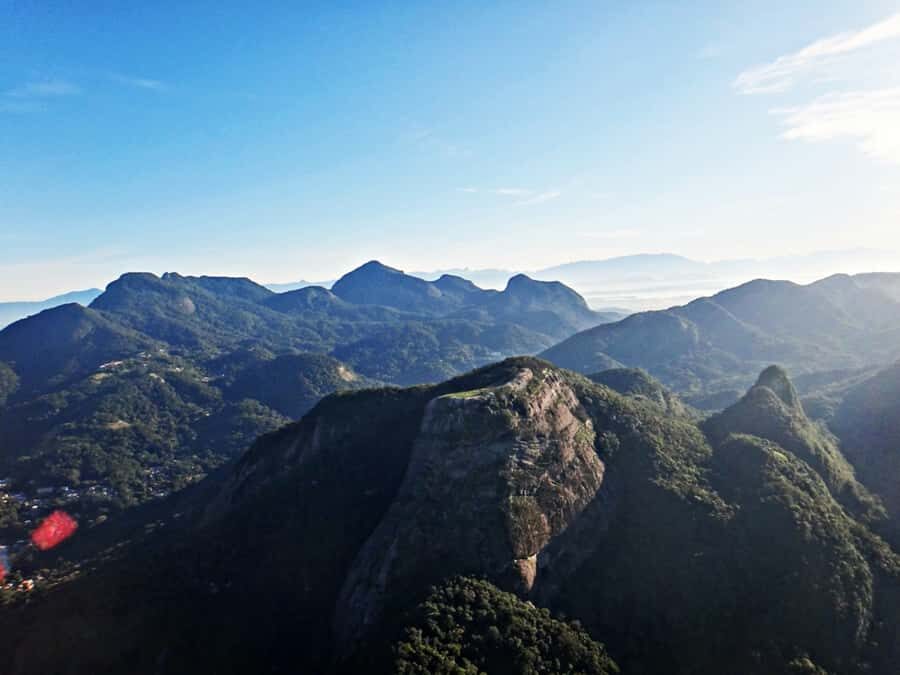
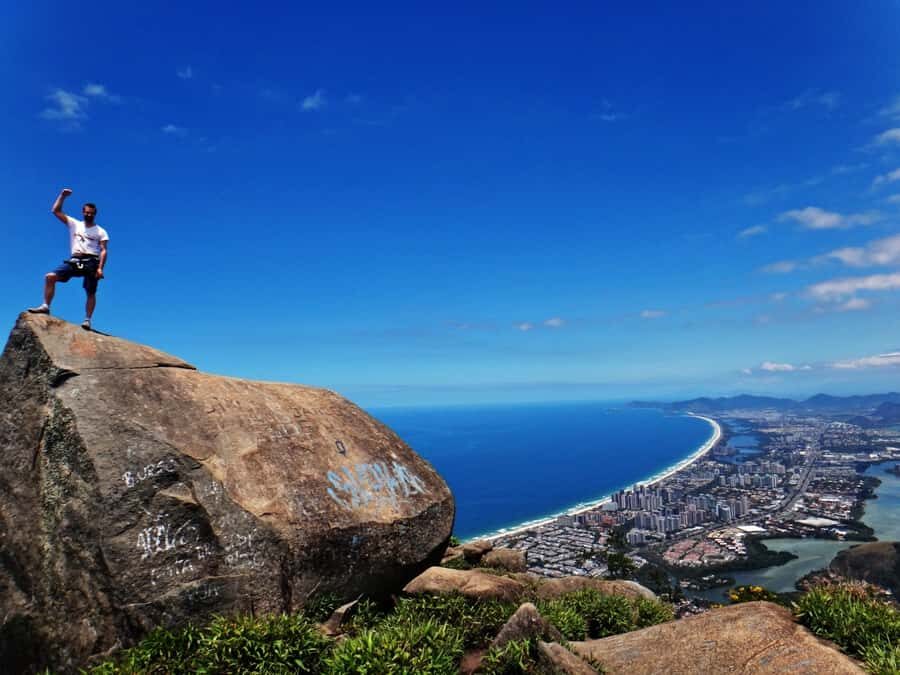
Once you pass the Carrasqueira section, the rest becomes the final push to the summit. From there, you’re rewarded with amazing panoramas over Rio’s south and west.
The summit experience is more than “take pictures and leave.” When the views are clear, this is your chance to:
- check your bearings and understand where you walked
- watch light shift over the city
- get your long-look photos without rushing
Sometimes clouds roll in, and your summit view can be partially blocked. That doesn’t mean the hike is ruined; it just changes what you see. A cloud cover can still create dramatic layers, and the hiking success still feels real because you earned the top.
Also, because the group moves together through the climbing, you may not control summit timing perfectly. Think of summit time as guided and shared, not solo and flexible.



The return down: why the descent is part of the challenge
The hike back down is typically where people feel the most tired. Your legs can be strong on the way up, but downhill footing demands different control—especially after technical climbing.
You’ll keep descending carefully, using guidance through the tricky areas. Since the tour includes climbing equipment and specialist support, you’re not expected to figure out every hold by guesswork. But you are expected to move thoughtfully. If you rush on the descent, you’ll feel it in your knees and your confidence.
The descent also tends to be less about thrill and more about staying smooth and steady. This is a day where good form matters more than ego.
Guides like Eduardo and Lucas: small-group support that changes the day
One reason this tour earns a strong rating is the guide experience. Guides such as Eduardo (Edu) and Lucas show up repeatedly in standout feedback, especially for patience and help during the climbing sections.
What that means for you:
- you don’t just get directions—you get coaching for risky foot placement
- the guides manage the pace so you can keep moving without feeling lost
- people with different comfort levels in climbing can still participate safely
Another perk you’ll hear about: photography. Multiple hikers mention that guides take great photos and videos during the day, and share them afterward. Even if you’re not obsessed with photos, it’s a real value on a technical hike. You can spend less time fumbling with your camera and more time focusing on your balance.
Language support is another real-world advantage. The instructor speaks Spanish, English, and Portuguese, so you’re not forced into one language to get safety coaching.
Equipment and what’s (and isn’t) provided
This hike includes specialist climbing equipment and a guide specialized in eco adventures. That’s the part you should take seriously when comparing this to “just a hike” options.
You should still bring your own essentials:
- water (at least 3 liters per person, as advised)
- sun protection (sunscreen and sunglasses, plus a hat)
- insect repellent
- light snacks and light clothing
- shoes with good grip
What’s not included: private transportation. That’s a common catch people forget. If you’re staying far from Itanhangá, getting yourself there is your responsibility.
What to pack: your “don’t get stuck” checklist
This isn’t a pack-and-go day. The mountain is technical, and you’ll sweat. The basics the tour asks you to bring aren’t optional:
- 3 liters of drinking water per person
- light snacks
- light clothing
- insect repellent
- sunglasses and sunscreen
- shoes with good grip
Also note the restrictions:
- No open-toed shoes
- No pets
- No oversize luggage / large bags
If you try to do this in soft sneakers, you’ll feel it instantly. Good grip matters because the terrain includes scrambling and climbing transitions where traction is everything.
Difficulty level: who should (and shouldn’t) choose this
The hike is described as difficult, with stretches of light climbing. Previous rock climbing experience is not required, but the technical parts mean you’ll need fitness and comfort using your hands.
This is a great match if:
- you like challenging outdoor days more than “look and leave”
- you’re comfortable on uneven terrain
- you want one of Rio’s most iconic climbs with real adventure moments
- you enjoy a guide-led approach in technical sections
It might not be a good match if:
- you hate heights or feel shaky with exposed terrain
- you don’t have grippy hiking shoes
- you’re hoping for a relaxed pace where you can stop whenever you want
Also, because this involves climbing segments that take time, you shouldn’t assume you can walk at your own speed through the entire day. The safer approach is guided pacing.
Weather and cancellation: how to think about the risk
The activity can be cancelled in bad weather. That makes sense for a mountain climb with technical sections. If rain or unsafe conditions show up, the provider chooses safety over pushing ahead.
If your trip schedule is tight, plan one more indoor or alternative outdoor activity on the same general day, just in case the weather forces a change.
Price ($56): what you’re really paying for
At $56 per person, this isn’t priced like a basic walking tour. You’re paying for:
- a specialized guide focused on eco-adventure and safe mountain movement
- climbing equipment for the technical sections
- the small-group structure (up to 6 participants), which supports attention and safer pacing
Is it “cheap”? Not really. But it’s also not overpriced for a day that combines rainforest hiking with real climbing support. If you were to hire private guide time plus equipment separately, the cost would likely jump fast.
The one cost you must account for: getting yourself to the meeting point. Since private transportation isn’t included, your real all-in budget depends on where you’re staying.
Should you book this Pedra da Gávea hike?
Book it if you want a Rio experience that feels like an accomplishment, not just a viewpoint stop. The combination of iconic Pedra da Gávea, certified guide support, and provided climbing equipment makes it a solid value—especially for people who enjoy technical hiking and don’t mind working for the view.
I’d skip it if you want an easy nature walk, or if heights and exposure make you anxious. Also be honest about your fitness. This is called difficult for a reason, and the climbing sections take time.
If you do book, come prepared: grippy shoes, enough water, and a calm mindset for the Carrasqueira segment. Get that right, and you’ll earn one of Rio’s most memorable “I actually climbed that” panoramas.
FAQ
How long is the hike itself compared with the total tour time?
The total tour duration is listed as about 8 hours, while the hike portion is approximately 3 hours.
Is prior rock climbing experience required?
No previous experience is required. The route includes basic climbing and some stretches of light climbing.
What altitude does the hike reach?
The hike ascends to around 840 meters.
What climbing section should I expect?
You’ll pass through the Carrasqueira section, which includes safety equipment and basic rock climbing of about 30 meters.
What languages are available for the guide?
The instructor speaks Spanish, English, and Portuguese.
Is private transportation included?
No. Private transportation is not included, so you’ll need to arrange your own way to the meeting point.
Where is the meeting point?
Meet at Estrada Sorimã, 932 – Itanhangá, Rio de Janeiro.
What should I bring?
Bring at least 3 liters of drinking water per person, light snacks, light clothing, insect repellent, sunglasses, sunscreen, and shoes with good grip.
Are open-toed shoes allowed?
No. Open-toed shoes are not allowed.
What happens if the weather is bad?
The activity will be cancelled in the event of bad weather.